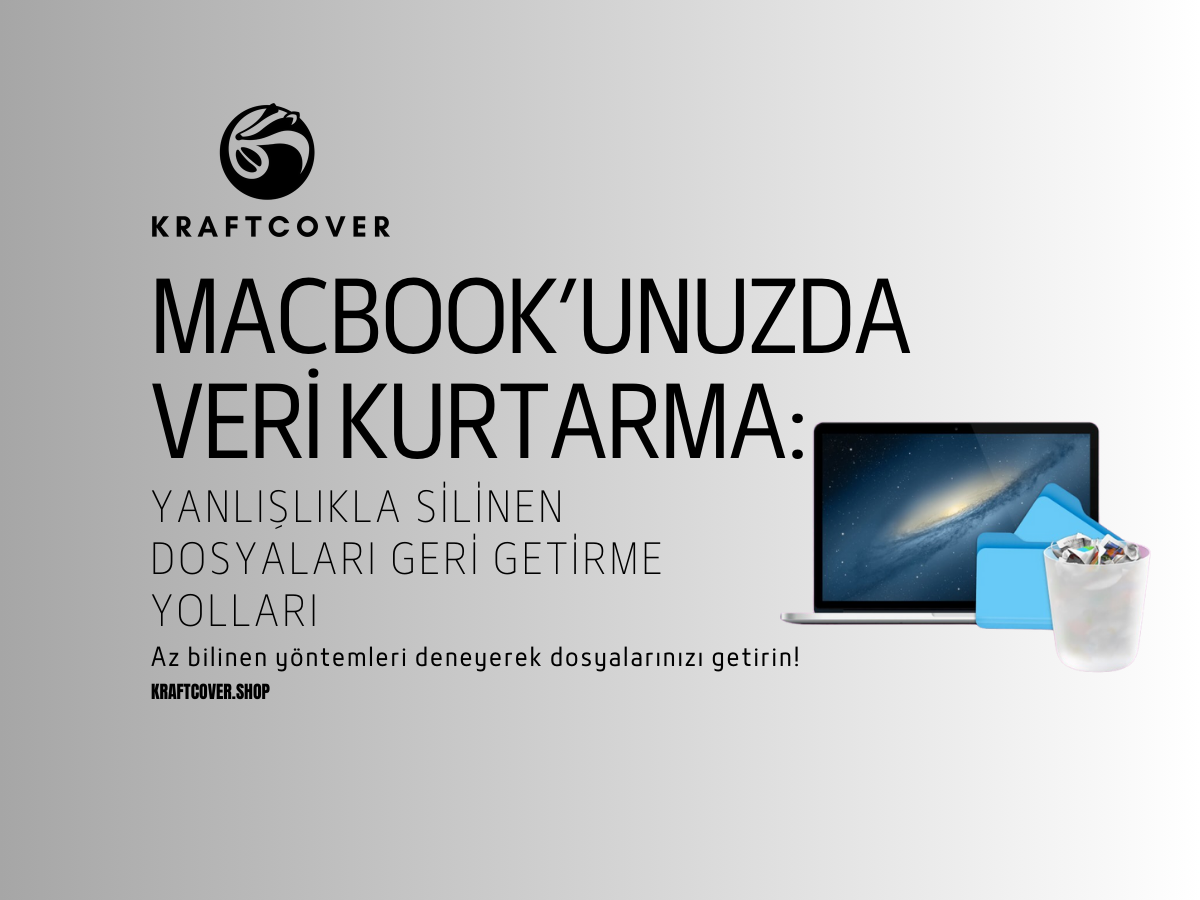
Yanlışlıkla silinen dosyalar, MacBook kullanıcılarının karşılaştığı en yaygın sorunlardan biridir. Birkaç tıklamayla kaybolan değerli belgeler, fotoğraflar ya da projeler… Panik yaratıcı olabilir, ancak veri kurtarma için çeşitli yöntemler mevcuttur. Bu yazıda, sadece temel yöntemleri değil, aynı zamanda daha az bilinen ve spesifik veri kurtarma tekniklerini de inceleyeceğiz. MacBook'unuzda yanlışlıkla silinen dosyaları geri getirmek için tüm ipuçlarını burada bulabilirsiniz.
1.Silinen Dosyaları Çöp Kutusu ve Terminal ile Kurtarma
Silinen dosyaların ilk durağı, genellikle Çöp Kutusu olur. Ancak bazen Çöp Kutusu bile dosyanızı geri getirmez. Böyle durumlarda Terminal aracılığıyla daha derin bir kurtarma gerçekleştirebilirsiniz.
Adım 1: Çöp Kutusu’ndan Kurtarma
- Masaüstünüzdeki Çöp Kutusu simgesine tıklayın.
- Geri yüklemek istediğiniz dosyayı sağ tıklayıp "Geri Koy" seçeneğini kullanın.
Adım 2: Terminal Kullanarak Kurtarma
Terminal ile daha gelişmiş bir kurtarma yöntemi deneyebilirsiniz. Ancak, bu yöntemi kullanırken dikkatli olmalısınız, çünkü yanlış komutlar başka sorunlara yol açabilir.
- Terminal'i açın: "cd .Trash" komutunu girin ve Enter’a basın.
- Dosyayı taşımak için: "mv dosya_adı /hedef_klasör" komutunu kullanın.
Not: Terminal üzerinden işlem yaparken dosya adını ve hedef klasörü doğru yazmanız çok önemlidir. Aksi takdirde, dosyanızı bulamayabilirsiniz.
2. Time Machine ile Eski Sürümlere Geri Dönme
Time Machine, düzenli olarak yedek alan ve bu yedekleri farklı tarihlerde geri yükleme imkanı sunan bir macOS özelliğidir. Ancak, daha az bilinen bir yönü, yalnızca dosyaların değil, aynı zamanda dosya sürümlerinin de yedeklenmesidir. Özellikle sürekli değişen belgeler üzerinde çalışıyorsanız bu özellik oldukça yararlıdır.
Adım 1: Time Machine Yedekleme ile Kurtarma
- Menü çubuğundaki Time Machine simgesine tıklayın ve "Time Machine’e Gir" seçeneğini seçin.
- Zaman çizelgesinden uygun bir tarih seçerek dosyayı orijinal sürümüne geri getirin.
Adım 2: Belirli Dosya Sürümlerini Kurtarma
- Özel bir dosyanın sürüm geçmişini görmek için dosyayı sağ tıklayın ve "Geri Yükle"yi seçin. Bu, özellikle sürekli güncellenen belgeler için hayat kurtarıcı olabilir.
3. Disk Utility ile Silinen Disk Bölümlerini Onarma

Dosyalar, bazen sabit diskteki bir sorun nedeniyle erişilemez hale gelebilir. Bu durumda, macOS'taki Disk Utility aracı, bozuk disk bölümlerini onararak veri kurtarma konusunda yardımcı olabilir.
Adım 1: Disk Utility ile Disk Onarma
- Uygulamalar > Yardımcı Programlar > Disk Utility yolunu izleyerek Disk Utility’yi açın.
- Sol panelde diskinizi veya bölmeyi seçin, ardından "İlkyardım" sekmesine tıklayın.
- "Çalıştır" seçeneğine tıklayarak onarım sürecini başlatın. Disk Utility, dosya sistemindeki hataları tarayacak ve onaracaktır.
Adım 2: Harici Diskleri Kontrol Edin
Harici disklerde kaybolan veya silinen dosyaları kontrol etmek için, Disk Utility ile harici diski de tarayabilirsiniz. Özellikle, harici disklerinizde yanlışlıkla silinen ya da erişilemeyen dosyaları bulmak için bu araç oldukça etkili olabilir.
4. iCloud Drive’ın Az Bilinen Özellikleri ile Dosya Kurtarma

iCloud, yalnızca fotoğraflar ve belgeleri değil, aynı zamanda dosya sürümlerini de yedekleyebilir. Bu özellik, özellikle üzerinde çalıştığınız dosyanın önceki sürümüne geri dönmek istediğinizde oldukça kullanışlıdır.
Adım 1: iCloud.com ile Geri Yükleme
- www.icloud.com adresine gidin ve Apple Kimliğinizle giriş yapın.
- "iCloud Drive" sekmesini açın ve "Son Silinenler" klasörüne gidin.
- Silinen dosyaları seçip "Geri Yükle" butonuna tıklayın.
Adım 2: Dosya Sürümlerini Geri Yükleme
- Özellikle iCloud üzerinden güncellenen bir dosyanın önceki sürümünü geri getirmek için, iCloud Drive’da bulunan dosyayı sağ tıklayın ve "Sürümleri Geri Yükle" seçeneğini kullanın.
KraftCover AirPods kılıfı kumaş dokusu ile şık bir koruma sunar.
5. Gelişmiş Veri Kurtarma Yazılımları
Bazı durumlarda, yukarıdaki yöntemler işe yaramayabilir. Bu gibi durumlarda, profesyonel veri kurtarma yazılımlarına başvurabilirsiniz. Aşağıda, MacBook’lar için popüler ve güvenilir veri kurtarma yazılımlarından bazıları yer alıyor:
Önerilen Yazılımlar:
- Disk Drill: MacBook’taki silinen dosyaları derinlemesine tarar. Kullanımı kolay arayüzü ve farklı veri kurtarma modlarıyla bilinir. USB, harici diskler, SSD’ler ve hafıza kartlarından silinen verileri de kurtarabilir.
- EaseUS Data Recovery Wizard: Geniş kapsamlı veri kurtarma özelliğine sahiptir. Fotoğraflar, videolar, belgeler ve e-postalar gibi farklı dosya türlerini kurtarma imkanı sunar.
- Stellar Data Recovery: Profesyonel bir araç olan Stellar, MacBook’unuzda kaybolan veya silinen verileri kolayca bulabilir. Derin tarama moduyla, diskinizdeki silinmiş ya da formatlanmış verileri geri getirme konusunda oldukça etkilidir.
İpucu: Veri kurtarma yazılımlarını kullanmadan önce, diskinizi ve verilerinizi yedekleyin. Kurtarma işlemi sırasında yeni veri kayıplarını önlemek için bu adımı atlamayın.
6. MacBook’ta Dosya Kurtarma Modu ile Kurtarma
MacBook, belirli veri kaybı durumlarında Kurtarma Modu ile veri kurtarmaya yardımcı olabilir. Bu yöntem, özellikle sabit disk sorunları nedeniyle kaybolan verilere ulaşmak için kullanılabilir.
Adım 1: MacBook’u Kurtarma Modunda Başlatın
- MacBook’unuzu kapatın ve ardından açma düğmesine basarken aynı anda "Command (⌘) + R" tuşlarına basılı tutun. Kurtarma Modu açılacaktır.
- Disk İzlencesi’ni seçerek, dosya sistemindeki sorunları kontrol edebilir ve onarabilirsiniz.
Adım 2: macOS’i Yeniden Yükleme
- Eğer sorun, macOS işletim sistemindeki bir hatadan kaynaklanıyorsa, Kurtarma Modu’nda "macOS’i Yeniden Yükle" seçeneğini seçerek sistemi yeniden yükleyebilirsiniz. Bu işlem, mevcut verilerinizi silmeden sadece işletim sistemini yeniler.
MacBook’unuzda hızlı veri yedekleme çözümleri ve ipuçları için içeriğimizi incelemeyi unutmayın!
7. Veri Kaybını Önlemek İçin İpuçları
Silinen dosyaları kurtarmak zor olabilir, bu nedenle veri kaybını önlemek için önceden önlem almak en iyisidir:
- Düzenli Yedekleme: Time Machine veya iCloud Drive ile düzenli olarak yedekleme yapın. Böylece, dosyalarınızı her zaman güvende tutabilirsiniz.
- Çöp Kutusu’nu Korumalı Kullanın: Dosyaları hemen kalıcı olarak silmek yerine Çöp Kutusu’nda belirli bir süre saklayın.
- Güvenli Yazılımlar Kullanın: Üçüncü taraf yazılımları yüklerken dikkatli olun. Bilgisayarınızı tehdit eden kötü amaçlı yazılımlar, veri kaybına yol açabilir.
KraftCover'dan Küçük Bir Hatırlatma
Verilerinizi korumak sadece dijital önlemlerle sınırlı değildir. Laptop’unuzun fiziksel olarak da güvende olduğundan emin olmalısınız. KraftCover’ın darbe korumalı ve su geçirmez laptop çantaları, cihazınızı dış etkenlerden koruyarak veri kaybı riskini en aza indirir.
Sonuç
MacBook’unuzda yanlışlıkla silinen dosyaları geri getirmek mümkündür. Her ne kadar bu süreç bazen karmaşık olsa da yukarıdaki yöntemlerle birçok durumda verilerinizi kurtarabilirsiniz. Düzenli yedekleme alışkanlığı edinmek ve silinen dosyalarınızı geri getirmek için en etkili yolu bilmek, veri kaybı yaşama riskinizi en aza indirecektir.